Posts

Showing posts with the label Tank

Back to the Bocage

Image
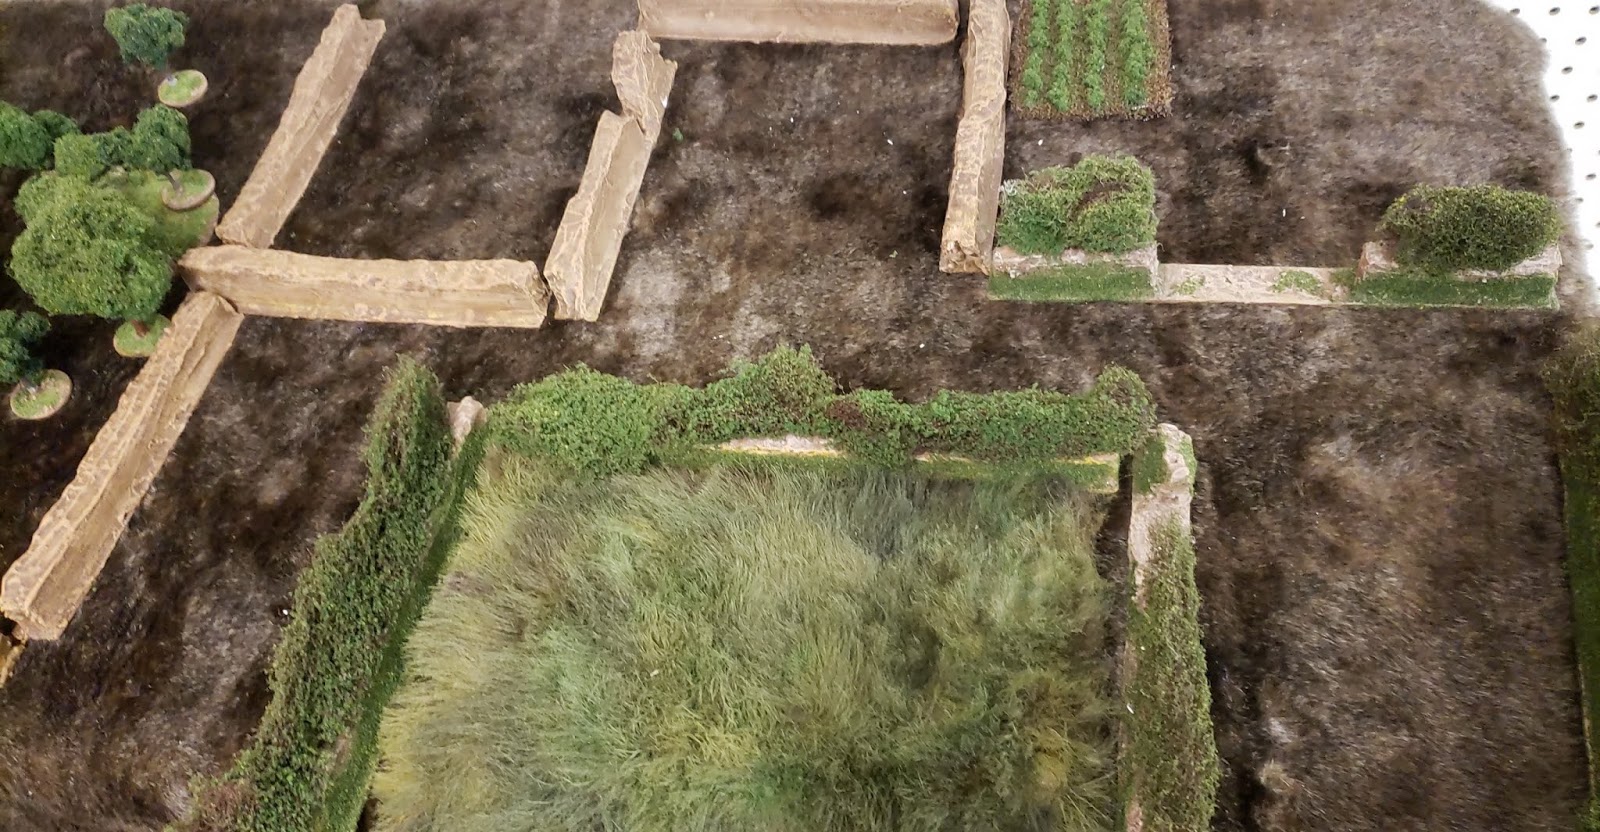
 I'm so happy to post more pictures for you guys  And I'm so glad to be back! It's been a long while since I've written anything for this blog, but I've been at work on a lot of various projects. Number one among them is working on terrain for my personal board. For this, I've been working on slowly building up more and more bocage, along with a faux fur mat, roads, and a forest's worth of trees. Let me know what you think, and what else I can do to add to it!  This Normandy terrain is slow-going, mainly because it's my own personal set, and I put my personal terrain set below painting and assembling miniatures and buying new armies, which is a habit I need to break. I'm trying to finish this terrain by the summer, so it'll be ready for many casual games and maybe even an appearance at a convention or two! I bought this cheap Revell model Spitfire from Hobby Lobby after Christmas when it was on sale. I think it...

Welcome to Divisonal Maintenance Company!

Image
Take your vehicles to the next level in a few super simple steps! I have recently bought some vehicles, sprues, and bits from a friend and member of the local Bolt Action community, and thought that his paintjobs could be enhanced with some weathering. (Plus, I had some techniques that I really wanted to try...) With more forethought than normal, and some before and  after pictures, I'll break down the process I used to take the tabletop standard models to the next level with only some super simple weathering. Panzer IV. Ausf. H Before The Panzer IV already had some decals applied and had its dunkelgelb base and camo stripes applied.  To start off, I took an old hobby knife and carefully scraped off the star wars Imperial decal. As much as I wish my Star Wars: Legion forces could have some armor support, I wanted to try out more battle damage, and thought that the decal would be distracting. After gently scraping it away, I took som e Vallejo Luftwaffe...

Panther!

Image
Panzerkampfwagen V "Panther"  Ausführung A , in the (in)famous Hinterhalt Tarnung . The model was primed in Grey, then base coated in Tamiya TS-3 Dunkelgelb . Next, the stripes were applied with some Warlord Games blister packaging. They were done in (all Vallejo) Luftwaffe Camo Green, and Dark Rust. Then the dot pattern was applied in German Camo Beige WW2. Decals were then applied and left to dry, before the weathering process.            Weathering was done with Citadel Nuln Oil in the recesses, a slapped-together green wash for the green patches, and a slapped-together brown wash for the brown patches. Then a bit of edge highlighting was done on corners, and black was applied to the exhaust and gun muzzle to simulate carbon buildup. After that, a bit of chipping was done with black, and tools were painted. Next, the tracks were done in Dark Rust, and were washed down with Nuln Oil, with the road wheels being painted black, then washed in the...

Tiger I

Image
Tiger I, painted in a three-tone stripe camouflage. The stripes are Luftwaffe Camo Green and Dark Rust (Vallejo). Decals were then applied, and left to dry. The tank was then given a coat of Citadel Nuln Oil wash, with the wash left to build up in the recesses. Then, a coat of black was applied around the exhaust and barrel to simulate wear and carbon buildup. Next, the tracks were painted in Hull red, and road wheels done in Black (Vallejo). Once dry, they were given a slather with Vallejo's Light Sienna pigment. I then used the leftovers, thinned down with water, to go over particularly dirty places on the tank, including the lower glacis, side skirts, etc. Finally, accessories such as the pintle Machine Gun, and shovel were painted and highlighted, before the whole model getting a coat of Testor's Matte Varnish.