Posts

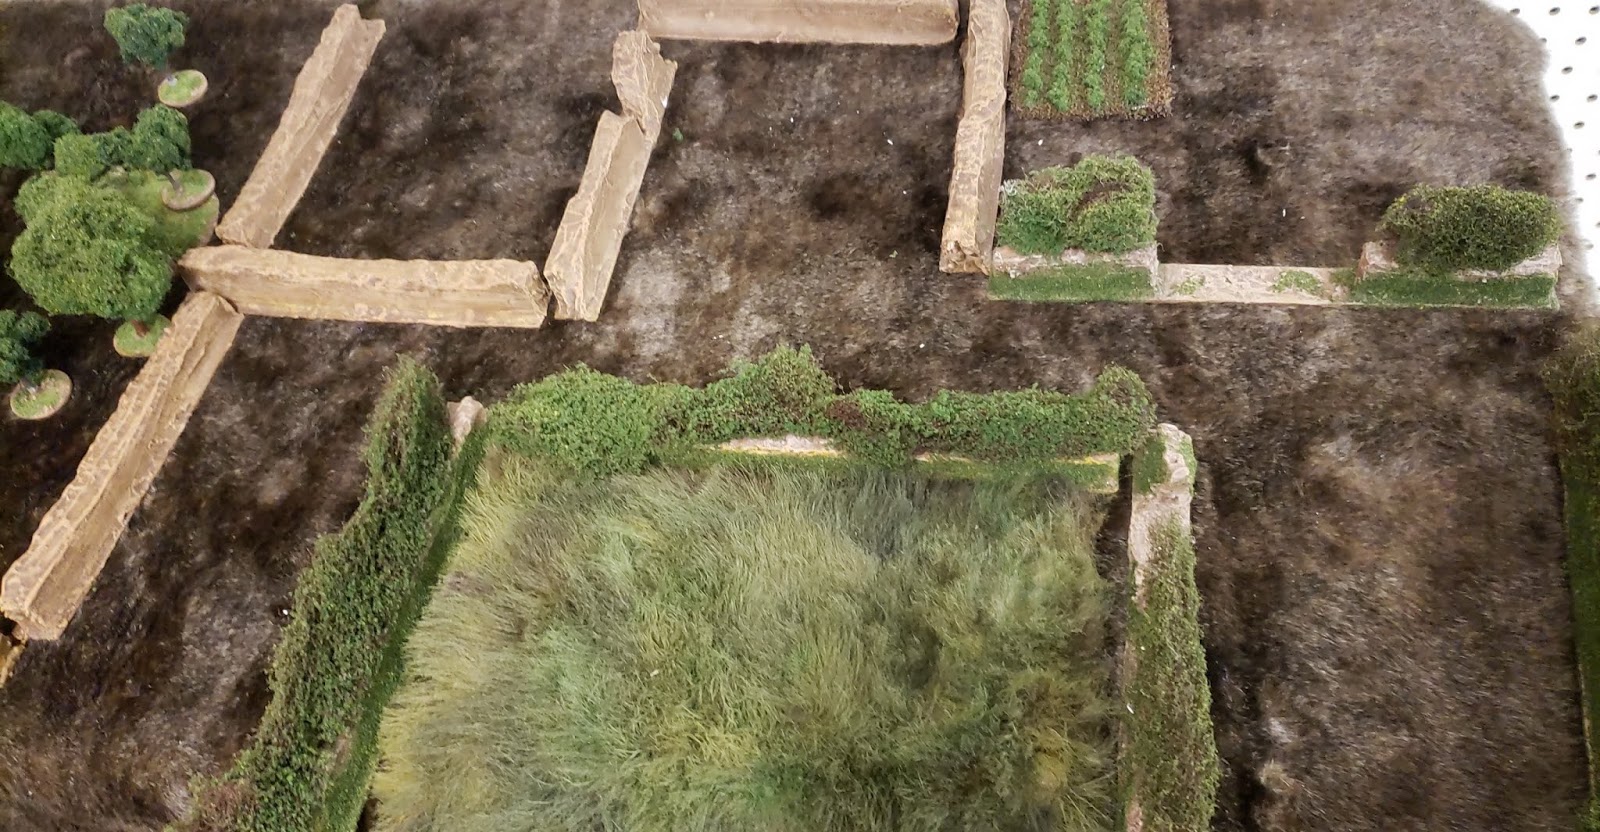
Hobby - Week of 3/29-4/3

Image
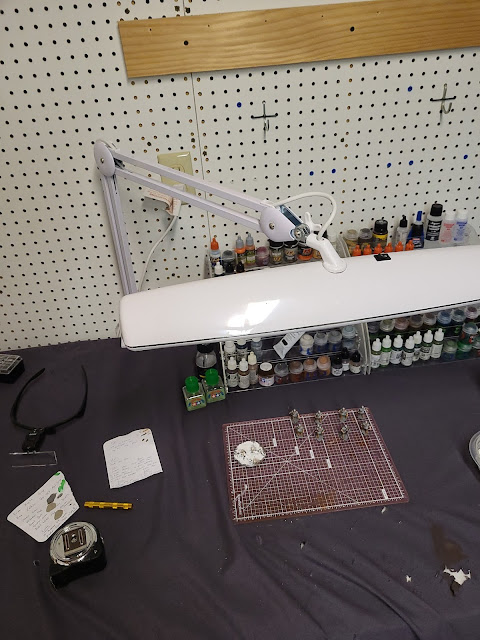
 Not a lot to talk about but one major change to the hobby organizational space is my new light.  After I reorganized my hobby space, I very quickly realized that the light in the new corner was very poor. I had to sort that out immediately. After a few weeks of pondering whether to get big studio lights, cheap ikea lamps, or something in between, I settled on the Daylight U32500 Triple Bright Lamp, as was recommended by a lot of hobby blogs and videos. It was pretty expensive, but as I've worked with it over the past week or so, I'm pretty happy with my purchase. It has perfect light color, and is really easily adjustable to throw its bright light in a concentrated area or all over the table. It wasn't the cheapest option, but it's worked out quite nicely, and more importantly allowed me to get back to actually painting after what felt like an eternity's break organizing, building shelves, and deciding on lighting fixtures. After hearing about the remaster of the o

Hobby -- Week 3/7-3/12

Image
  Organization After buying and setting up the new shelving unit last week, and reorganizing my hobby space, I bought some "acrylic nail polish storage racks" on Amazon to store my paints, which were getting out of control. These had a wide enough shelf to store both Vallejo, Citadel, and Tamiya paints, which were great. I'm really happy everything is now organized and I have more space to work, instead of my desk being so cluttered. Next week, I think I'll buy some lights. The new desk location has more space and access to the pegboard wall, but lacks good light for painting. I'll either pick up some Ikea desk lamps or a big garage overhead light. We'll see which is a more effective solution. Snow Bases My friend wanted a quick basing tutorial on how I did my Age of Sigmar skeletons' snow bases, so I'm going to post it here as my virtual noteboook so I remember how to do it in the future. I used Vallejo's texture paint and some large(ish) pebbles

Hobby - week of 3/2/21

Image
 No real progress to report on minis or terrain, but I did start a project I've been wanting to undertake for a while now -- organization. Previously, the table was crammed with stuff, and it became so messy that it was a hindrance to projects. In essence, the basement was a disaster. I resolved to get some shelves, sweep the floor, and reorganize, in order to give myself a fresh start as I move onto work on new projects. The shelf system I bought was just a simple one from Lowes, and put it together in about half an hour. It is really really nice to have some dedicated storage spaces instead of just cramming things in bankers' boxes. Here, I have room to expand and store more kits, terrain materials, and gear. At the end of the day, the shelf has plenty of room to grow into. Finished kits and bits on top, followed by terrain supplies and unbuilt kits, a few terrain pieces, an empty shelf that holds old dios, and finally a shelf with miscellaneous shash. Cork tiles, foam bits,

Hobby Blog 08/26/20

Image
 Been a while since I've written anything; I just want to get a few ideas off a piece of scratch paper and onto a more concrete platform. Spectre Operations - Modern Miniatures In the past month or so, I started on Spectre Miniatures' DEVGRU team, following their Multicam recipe loosely, which I think came out really well. I primed my miniatures with Krylon grey like always. I think the Vallejo Medium Grey is actually a better basecoat than the suggested Vallejo Green Grey, as it gives a better sandy/brown color, without having to make the browns more prominant in the pattern. My Multicam Mix Basecoat Vallejo 70.987 Medium Grey Paint Stripes of Citadel Waaagh Flesh, Straaken Green, Dryad Bark, and Vallejo German Camo Medium Brown Wash with Athonian Camoshade Paint stripes/splotches of Citadel Pallid Wytch Flesh Touch up/cut in some more stripes of various colors to preserve the "stripey-ness" In Modern kit, the two other prominent colors that came up were Coyote and R

Back to the Bocage

Image
 I'm so happy to post more pictures for you guys  And I'm so glad to be back! It's been a long while since I've written anything for this blog, but I've been at work on a lot of various projects. Number one among them is working on terrain for my personal board. For this, I've been working on slowly building up more and more bocage, along with a faux fur mat, roads, and a forest's worth of trees. Let me know what you think, and what else I can do to add to it!  This Normandy terrain is slow-going, mainly because it's my own personal set, and I put my personal terrain set below painting and assembling miniatures and buying new armies, which is a habit I need to break. I'm trying to finish this terrain by the summer, so it'll be ready for many casual games and maybe even an appearance at a convention or two! I bought this cheap Revell model Spitfire from Hobby Lobby after Christmas when it was on sale. I think it

September Update: Back into the Terrain Trenches!

Image
Sorry for the lack of updates everyone, but I've got some good progress to report! As was promised quite a while ago, I finally settled on a method for making Normandy bocage that I'm really happy with. A lot of the time, I see hedges as waist-high decorations, but the bocage of the Normandy campaigns were truly formidable obstacles. I've modeled these as having a dirt berm a bit taller than the mini, and then having the foliage extend an inch(ish) higher. These bits of bocage are in about 1 1/2 foot segments and designed as scatter terrain for a Normandy table that I am building up slowly. I took some photos on a smaller piece of board I am using as a mini-photo set. Enjoy some of the bocage pictures, and let me know what you think! Terrain Experiments! After finishing the bocage, I was looking for another mini-project to work on while I waited on some bits for the final display board to arrive. Walking around Hobby Lobby one day, I noticed