Königstiger
 |
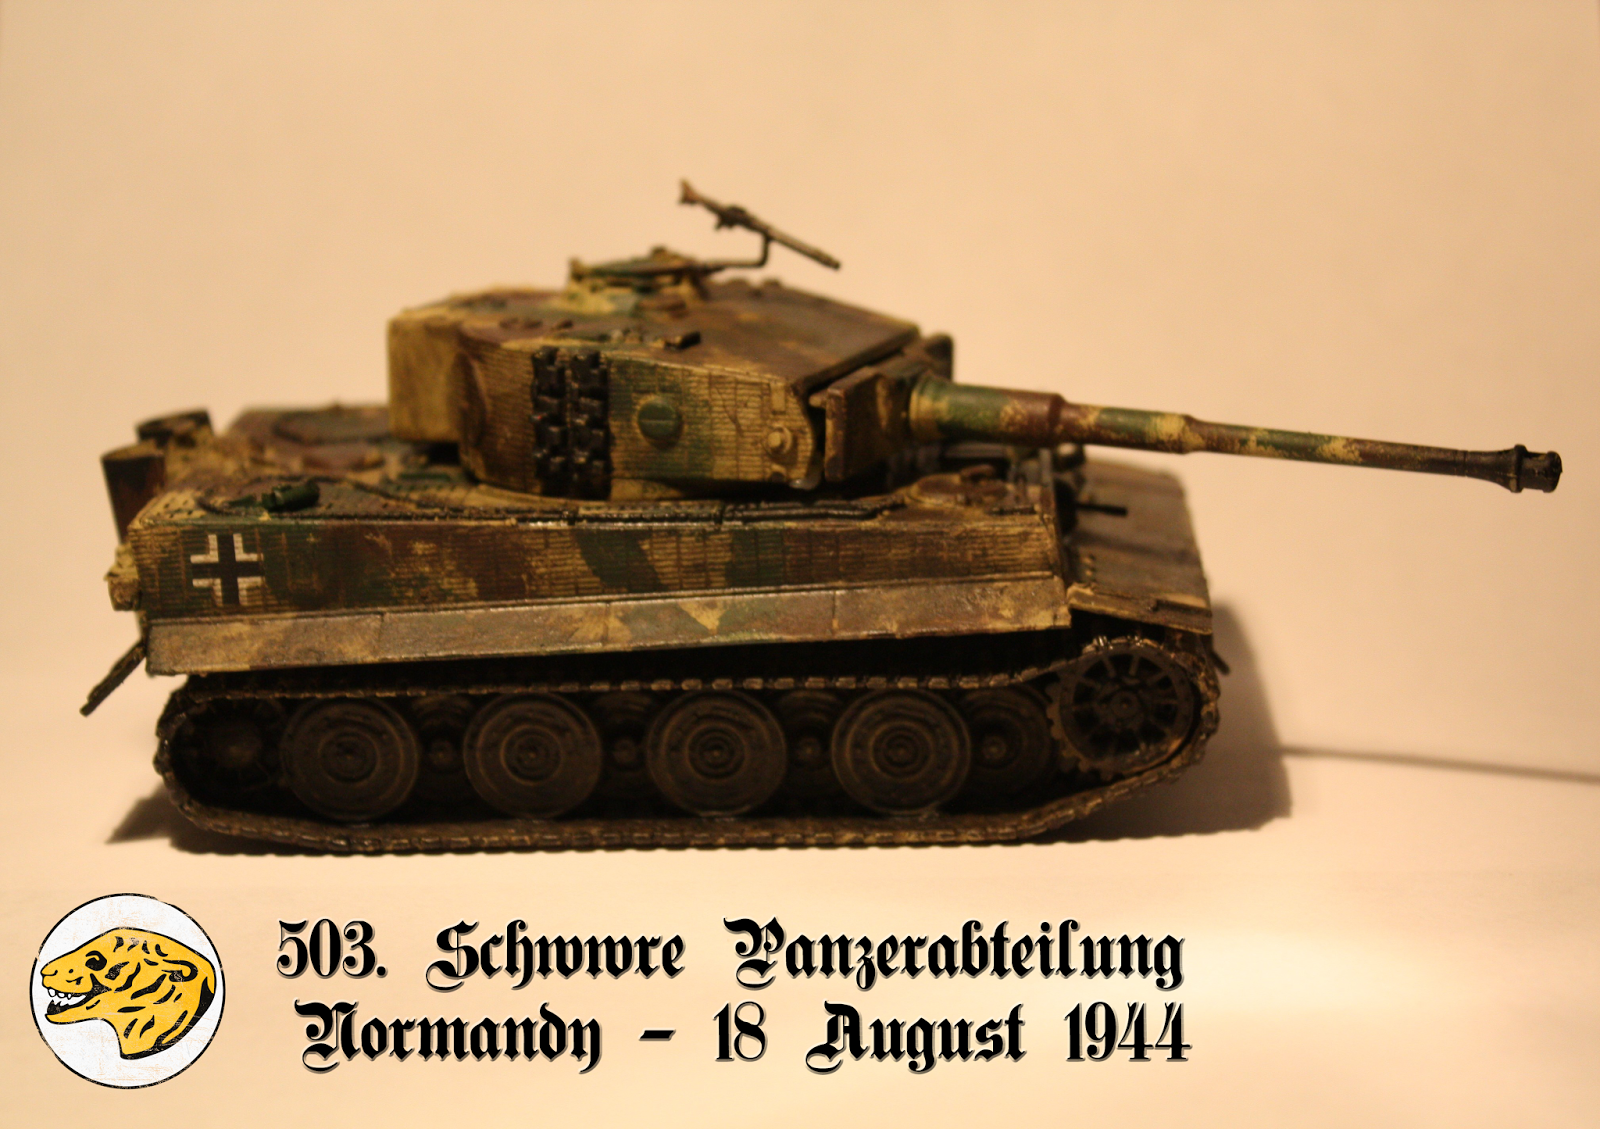
| The finished King Tiger of the 503rd Heavy Panzer Battalion is ready to defend Normandy to the last!
This kit is Warlord Games' new King Tiger model, which went together really well and was nice to paint up. The kit comes with options to include the side skirts or not, and options to build either the Henschel production turret or the Porsche turret, which was nice. I chose to go with the Henschel turret, as I thought it was more of a "classic" look, and there exists some photographic evidence to support Henschel Tiger IIs being in Normandy.
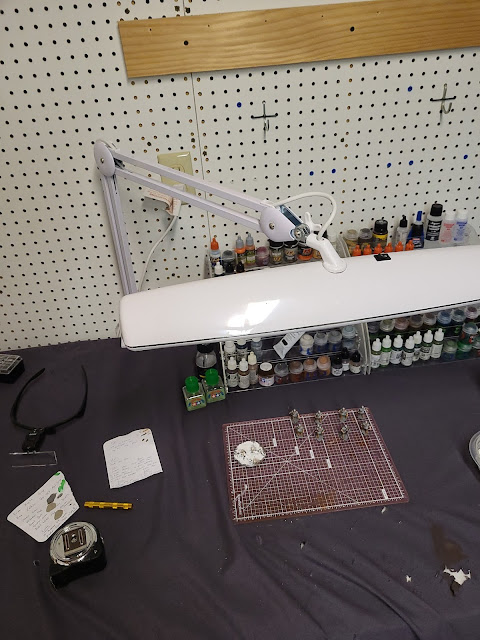
After building and priming the model in grey, I started on the Dunkelgelb using AK Interactive's Dunkelgelb modulation kit. I've never done any color modulation before, so this was a great introduction to it. The AK colors need v ery little (if any) thinning for the airbrush, and were fantastic to use.
 
The modulation worked really well in my opinion, and gave some good coloration. I know it isn't the finest color modulation out there, but I definitely am excited to learn more and improve in the future!
Next, the camo stripes were airbrushed in a diagonal pattern. The green was done with Vallejo Model Color 70.823 "Luftwaffe Camo Green" and the brown was done with Vallejo Panzer Aces 70.302 "Dark Rust." While maybe not the closest match to historical colors, I felt that these gave good coloration and would match the rest of my army well.
After the camouflage stripes were airbrushed on, gloss varnish was applied to the vehicle and the decals were attached. Next, the vehicle was chipped using regular Vallejo black and a piece of torn foam. After that, the vehicle was weathered with the shown AK interactive products! The wash/filter worked really well for defining detail, and the streaking grime was applied, then wiped with White Spirit to show "streaking"effect. The track wash was also a great tool, as it gave a great mix of grime and rust! Further, the engine deck got an application of Citadel's Nuln Oil wash, to replicate oil and grease buildup. Finally, the tracks were given a once over with Vallejo's Thick Mud, then given a coat of some home-made "splash mud." I stole this technique from Geni's painting Studio on Youtube. Go check out his channel. He has fantastic tips for tank painting. Some Vallejo German Camo Medium Brown was mixed with some water, and was loaded on the brush. The brush was placed in front of the airbrush, and the paint was then sprayed, to recreate the effect of wet mud splashing on the tracks & side skirts.     |
Comments
Post a Comment