Posts

Back to the Bocage

Image
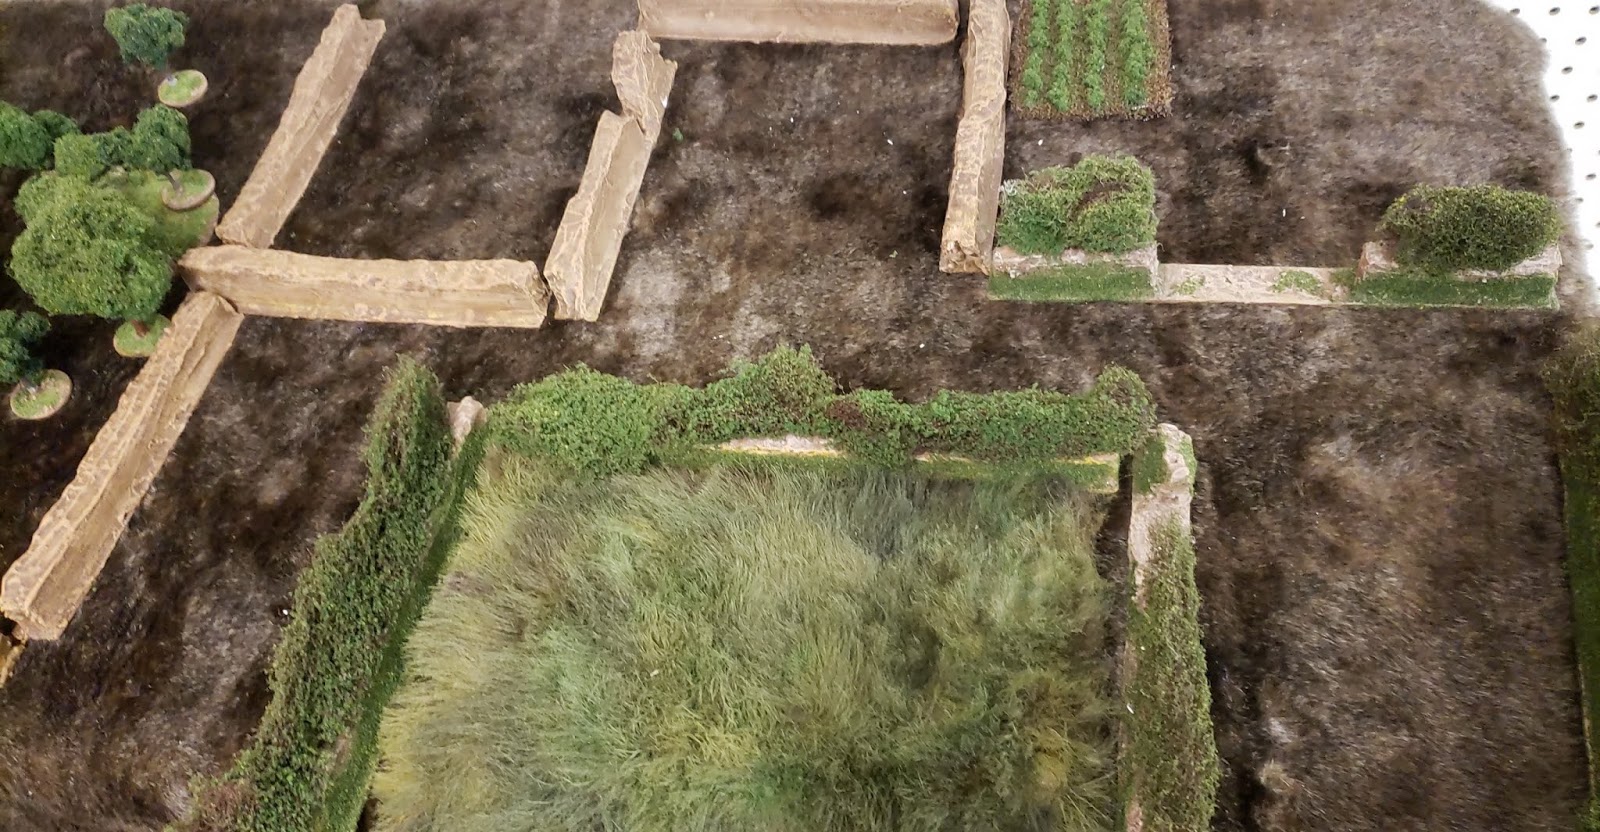
 I'm so happy to post more pictures for you guys  And I'm so glad to be back! It's been a long while since I've written anything for this blog, but I've been at work on a lot of various projects. Number one among them is working on terrain for my personal board. For this, I've been working on slowly building up more and more bocage, along with a faux fur mat, roads, and a forest's worth of trees. Let me know what you think, and what else I can do to add to it!  This Normandy terrain is slow-going, mainly because it's my own personal set, and I put my personal terrain set below painting and assembling miniatures and buying new armies, which is a habit I need to break. I'm trying to finish this terrain by the summer, so it'll be ready for many casual games and maybe even an appearance at a convention or two! I bought this cheap Revell model Spitfire from Hobby Lobby after Christmas when it was on sale. I think it...

September Update: Back into the Terrain Trenches!

Image
Sorry for the lack of updates everyone, but I've got some good progress to report! As was promised quite a while ago, I finally settled on a method for making Normandy bocage that I'm really happy with. A lot of the time, I see hedges as waist-high decorations, but the bocage of the Normandy campaigns were truly formidable obstacles. I've modeled these as having a dirt berm a bit taller than the mini, and then having the foliage extend an inch(ish) higher. These bits of bocage are in about 1 1/2 foot segments and designed as scatter terrain for a Normandy table that I am building up slowly. I took some photos on a smaller piece of board I am using as a mini-photo set. Enjoy some of the bocage pictures, and let me know what you think! Terrain Experiments! After finishing the bocage, I was looking for another mini-project to work on while I waited on some bits for the final display board to arrive. Walking around Hobby Lobby one day, I noticed...

Welcome to Divisonal Maintenance Company!

Image
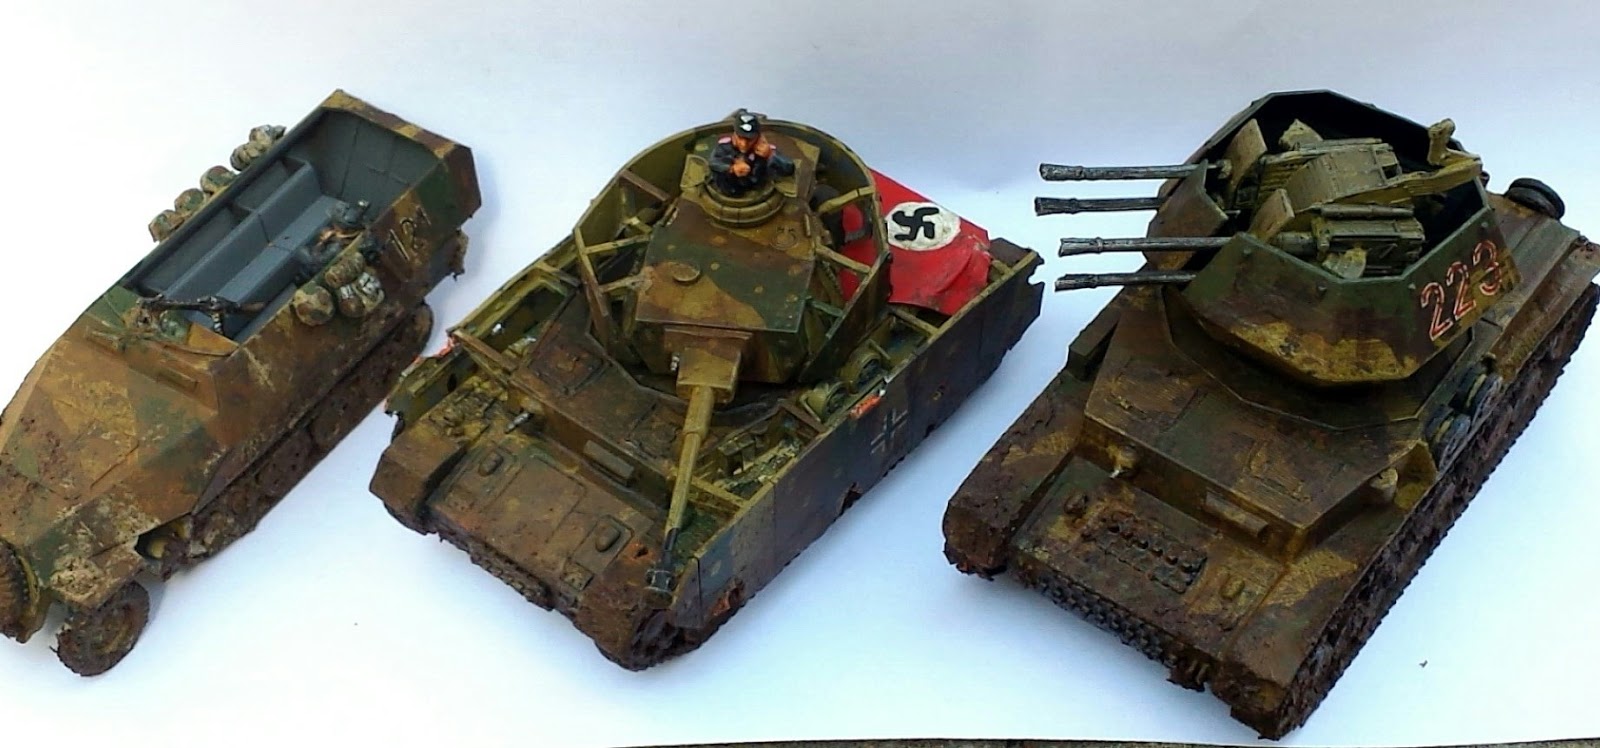
Take your vehicles to the next level in a few super simple steps! I have recently bought some vehicles, sprues, and bits from a friend and member of the local Bolt Action community, and thought that his paintjobs could be enhanced with some weathering. (Plus, I had some techniques that I really wanted to try...) With more forethought than normal, and some before and  after pictures, I'll break down the process I used to take the tabletop standard models to the next level with only some super simple weathering. Panzer IV. Ausf. H Before The Panzer IV already had some decals applied and had its dunkelgelb base and camo stripes applied.  To start off, I took an old hobby knife and carefully scraped off the star wars Imperial decal. As much as I wish my Star Wars: Legion forces could have some armor support, I wanted to try out more battle damage, and thought that the decal would be distracting. After gently scraping it away, I took som e Vallejo Luftwaffe...

"Winter changed into spring..."

Image
Triumphant Return?  I've always wanted to try my hand at American armor. The monotony of all one color presents an interesting challenge in itself, and I think I have a lot more to learn. The model is Rubicon's Easy 8/76 (W) kit. It was the first Rubicon kit I've put together, and I think it went together quite well! Not to mention all the extra parts, options, and the lower price too! This tank, named after my amazing dad was my first ever attempt at freehand. The writing came out alright. The star was an emergency repair after the decal ripped. D'oh! We're WW2 wargamers: Of course we've seen Fury, and yes we all love the dirty old tanks covered in stowage. I decided to paint this up as a veteran tank that has seen the muddy, dirty horror of Spring '45. The rear presented some challenges as to how to make this large, open area more interesting. I tried adding some washes to simulate oil & fuel stains, but it didn't come out too ...